ERP for Everyone 02: Setup
2025-09-11Get your company information into the ERP and add users to help with the setup.
Assuming you gave the commands 5-10 minutes to run, and you didn’t see any errors, you should now have ERPNext installed on your VPS. Head to erp.yourdomain.com (replace yourdomain.com with your actual domain) in your web browser and you should see a login screen. Enter the username Administrator and the password admin and press Login to go to the next page. Here, select the settings suited to your location and the currency that your business uses, and press Next.
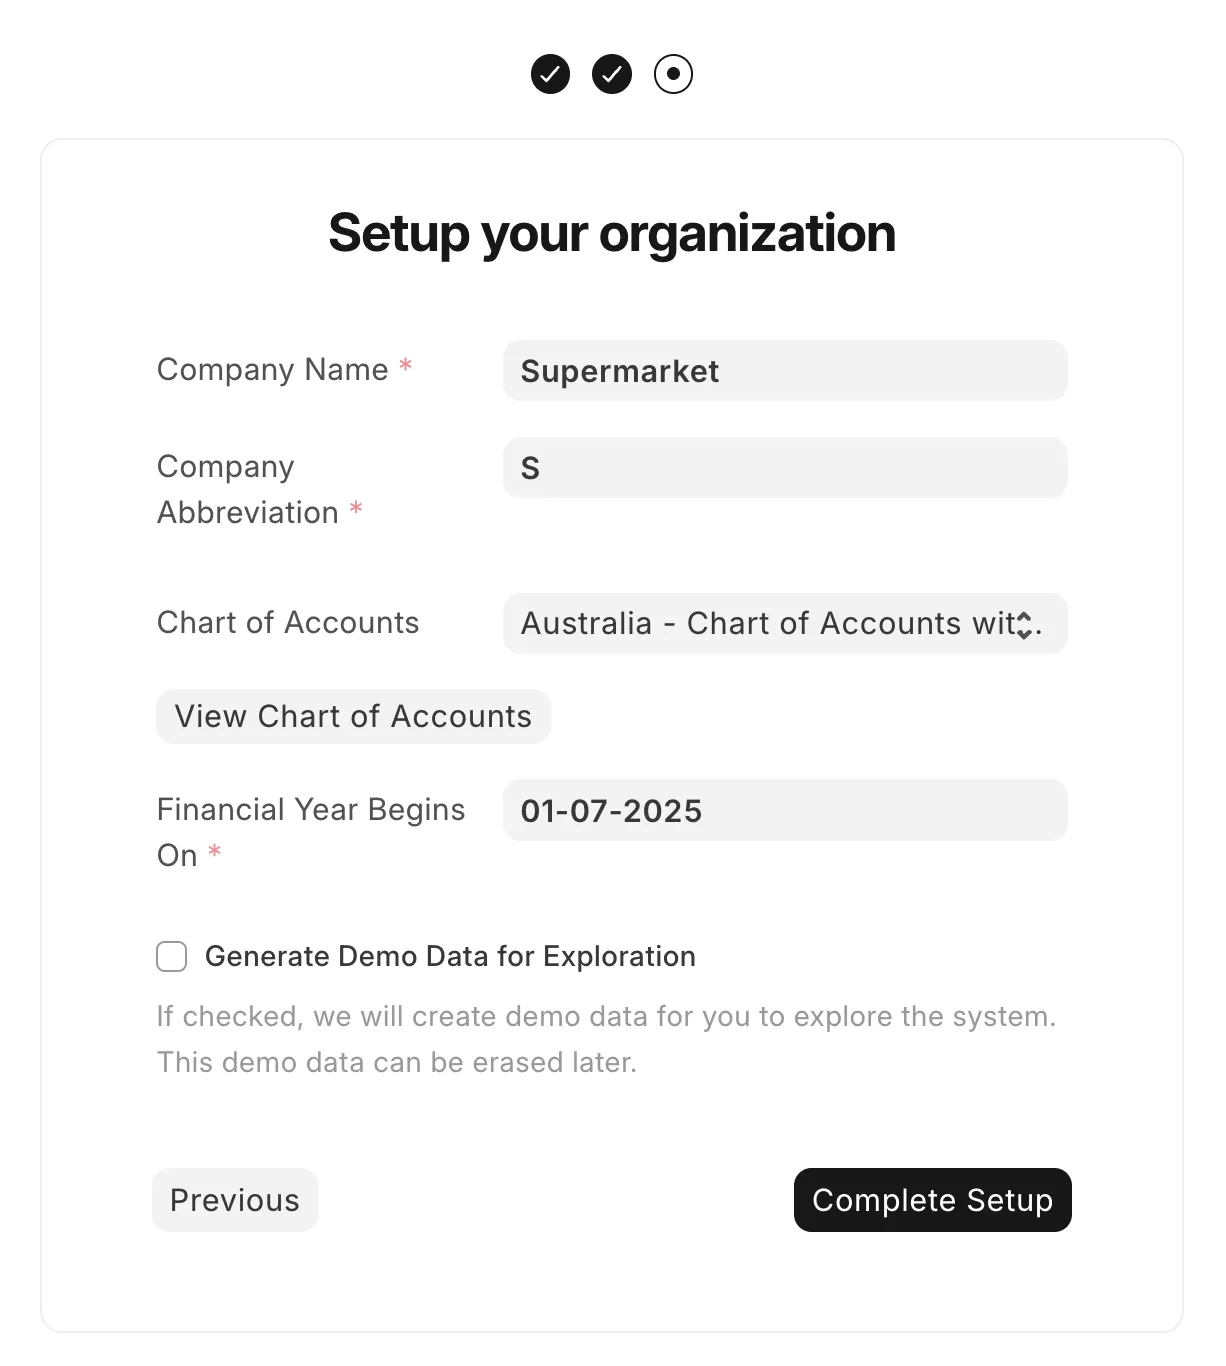
Enter your full name, email address, and a password (the more characters the better - I usually aim for at least 20), then click Next. Now you can input your organisation’s details. This includes the name, abbreviation, chart of accounts, and financial year start date. Do not tick the Generate Demo Data box, we want to start with a clean slate.
Here's a sample set of inputs (click to expand)
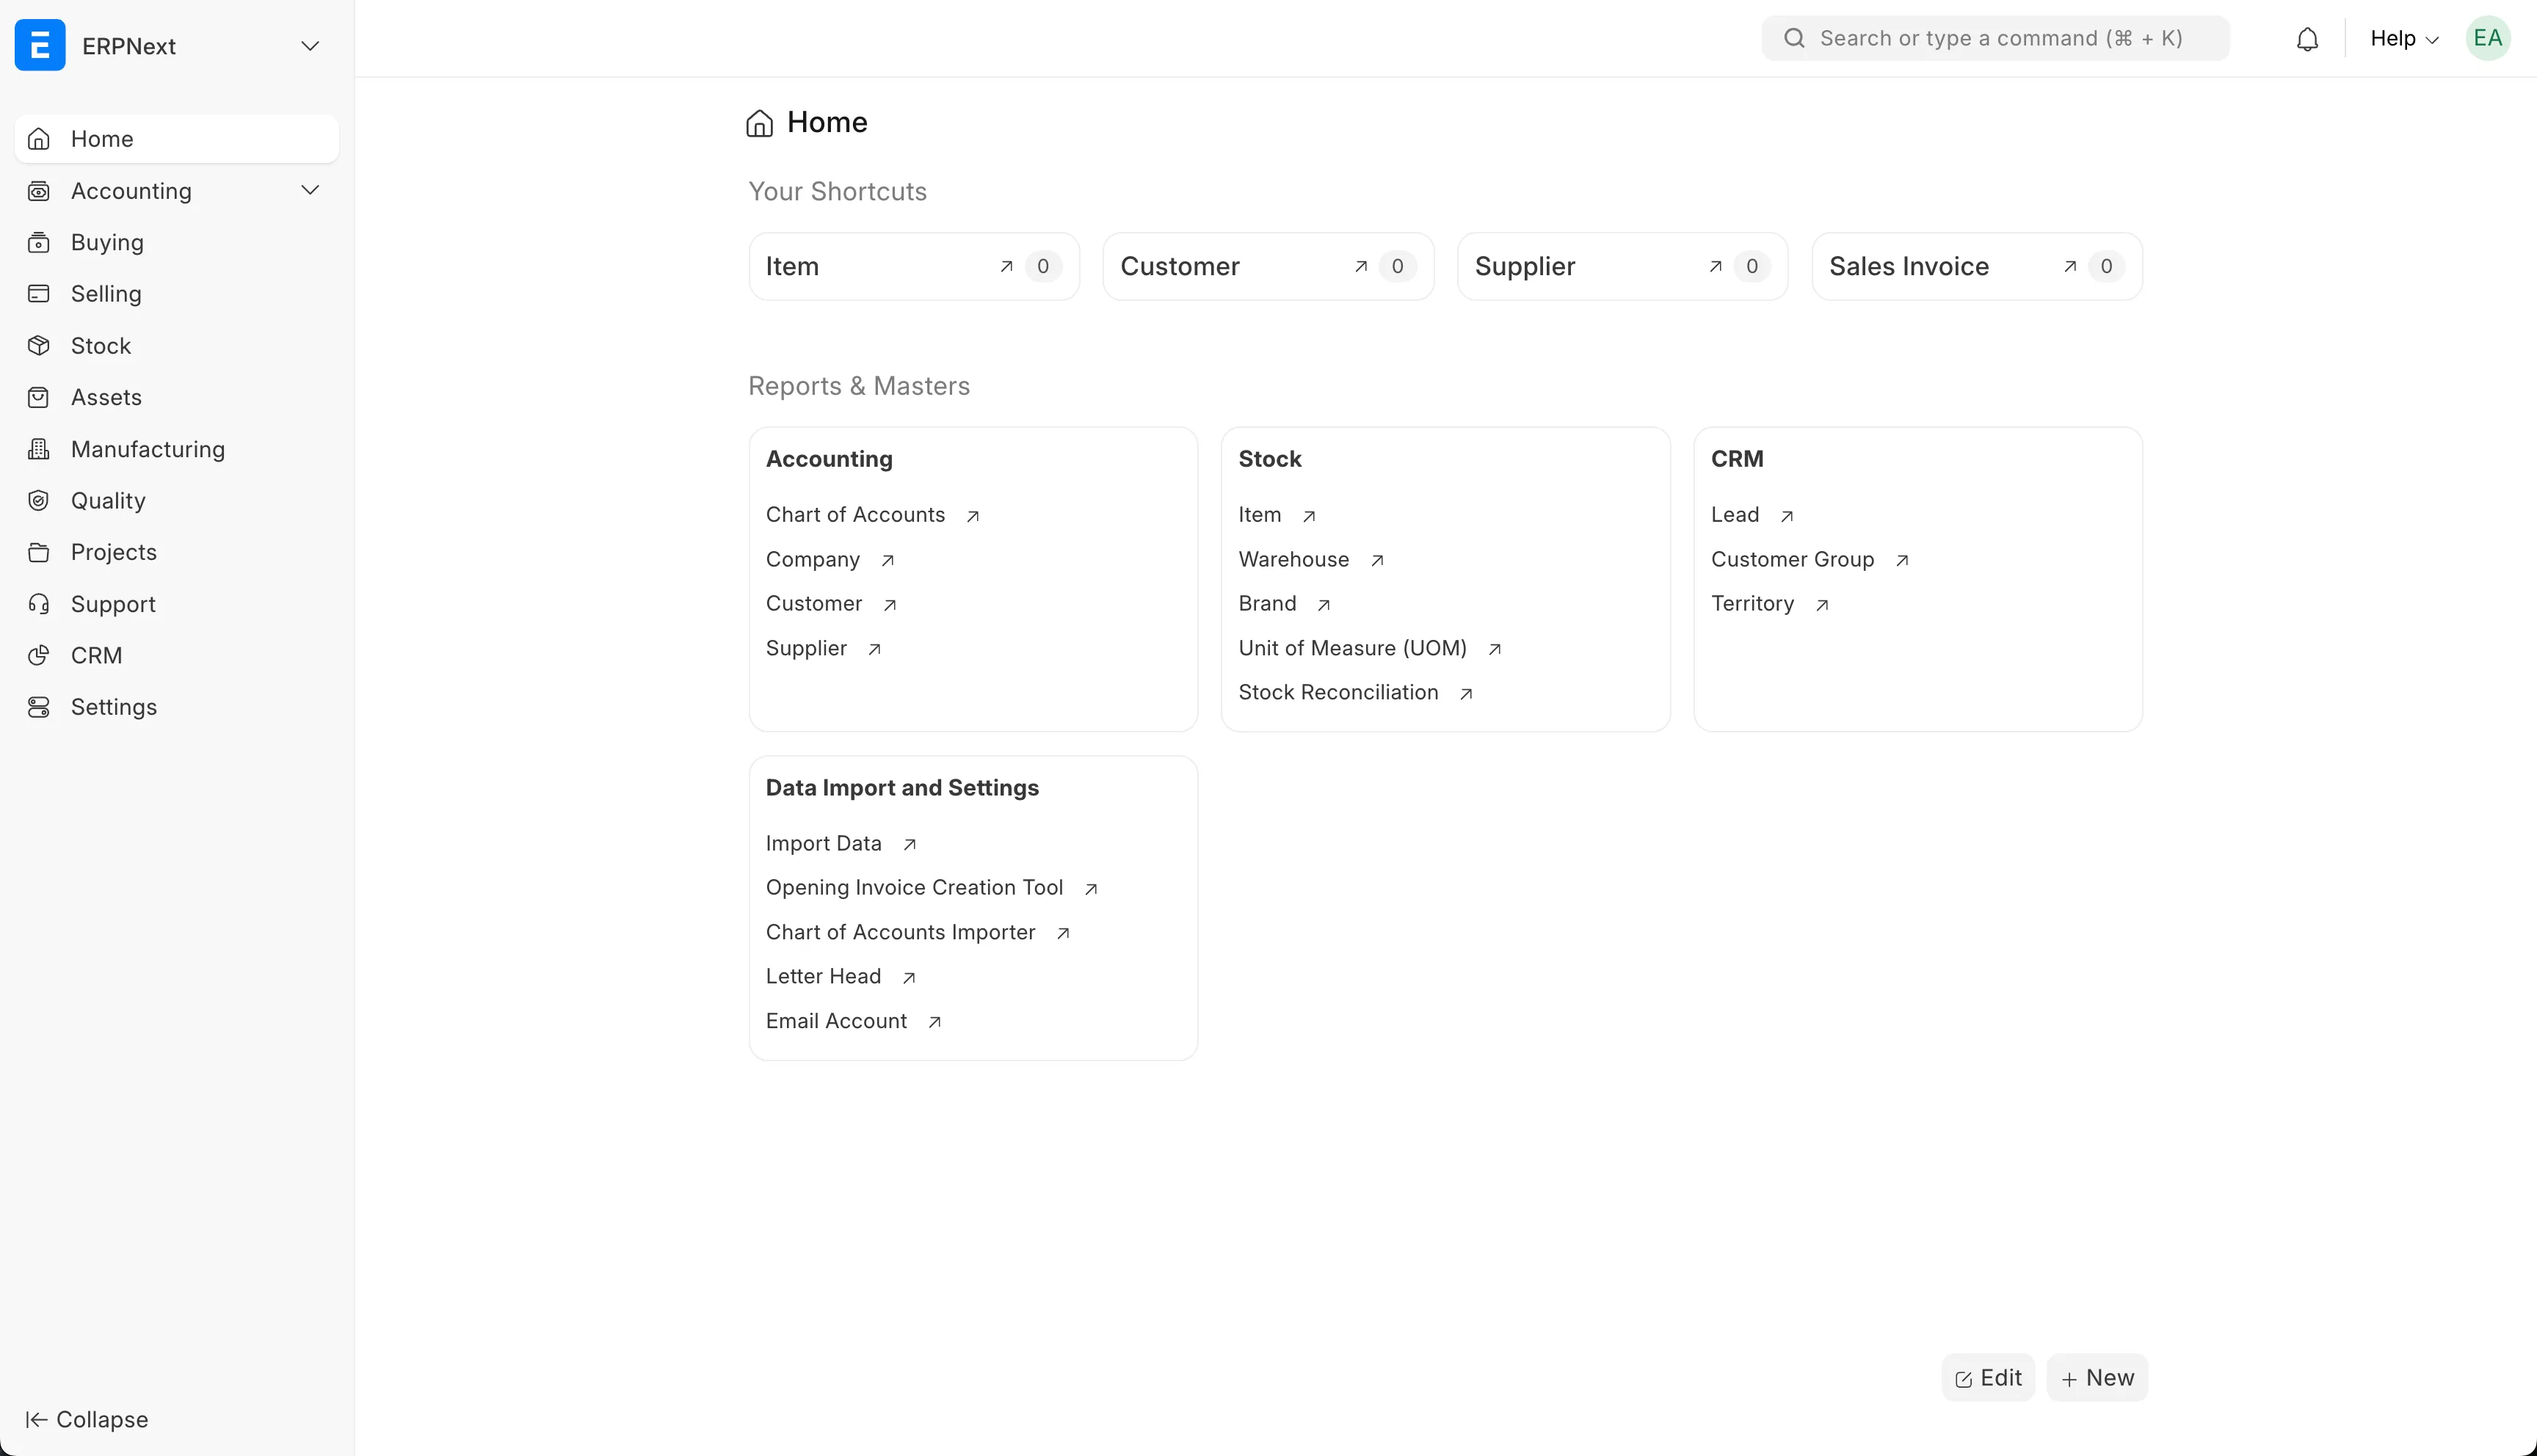
Press Next again. ERPNext will show you a loading screen while it sets up your organisation, which usually takes less than a minute.
Once it's finished, you'll see the ERPNext dashboard (click for screenshot)
If you’d like to add other users to help you set things up:
- Head to
https://erp.yourcompany.com/app/user - Press the
Add Userbutton in the top right. - Fill out the email and first name of the new user
- Allocate them roles based on what they do in the business. Try to follow the principle of least privilege - i.e. give them only the permissions they will need.
Finally, we need to do a small but important security uplift to make the administrator password stronger:
- Log out of your account by clicking your user icon in the top right and selecting
Log Out. - Log in as
Administratorwith the passwordadmin. - Head to
https://erp.yourcompany.com/app/user/Administrator#settings_tab - Change the password to something much stronger (50+ characters ideally).
- Press
Save
I also recommend you set up an IP restriction in the security settings to only allow logins from your office or home IP address if it is static.
That’s all for this blog post! In the next one, we’ll dive into setting up the items that your company buys and sells. Click here to move to the next step.